Edit or Update Booking Details in TimeEdit
Below we go through how you as a user can edit and manage bookings. We'll go through the different choices and features you can use after you've placed bookings in the schedule and then want to change them. The reason to manage or edit a booking may be one of the following: You wish to add a note or comment on a booking to display to the end users (eg. Students or staff) You may need to add special instructions or information on a specific booking

How to add a note or comment on an existing booking
How to add a note or comment on an existing booking
Step 1.
Select the booking you are wanting to edit.
Step 2.
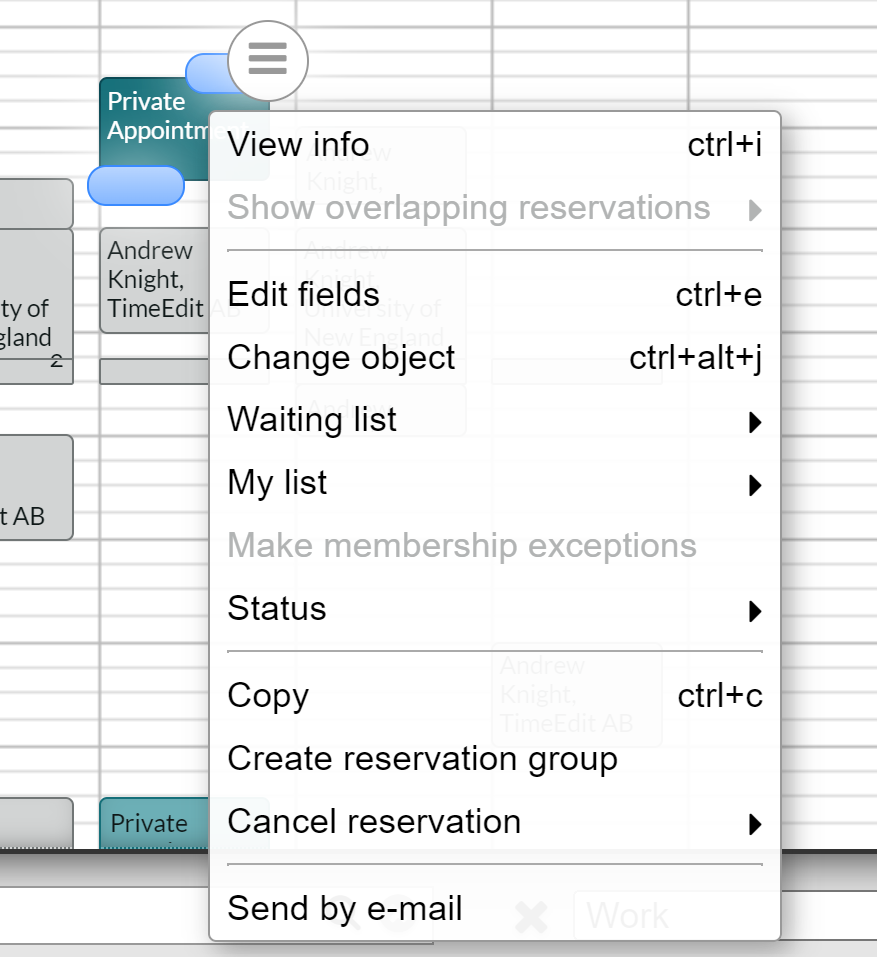
Right click (mouse) the booking to display the options menu for that booking.
Note: you can also use keyboard shortcut 'ctrl-e'
Step 3. Select 'Edit Fields'
Step 4.
The side panel will open up with information about that booking
Add your notes or comments to this section
Select to Save

Change a booking
Change a booking
In this article we will go through how you go about changing items on an existing booking, in this example we will replace one location/room with another in the schedule.
Step 1
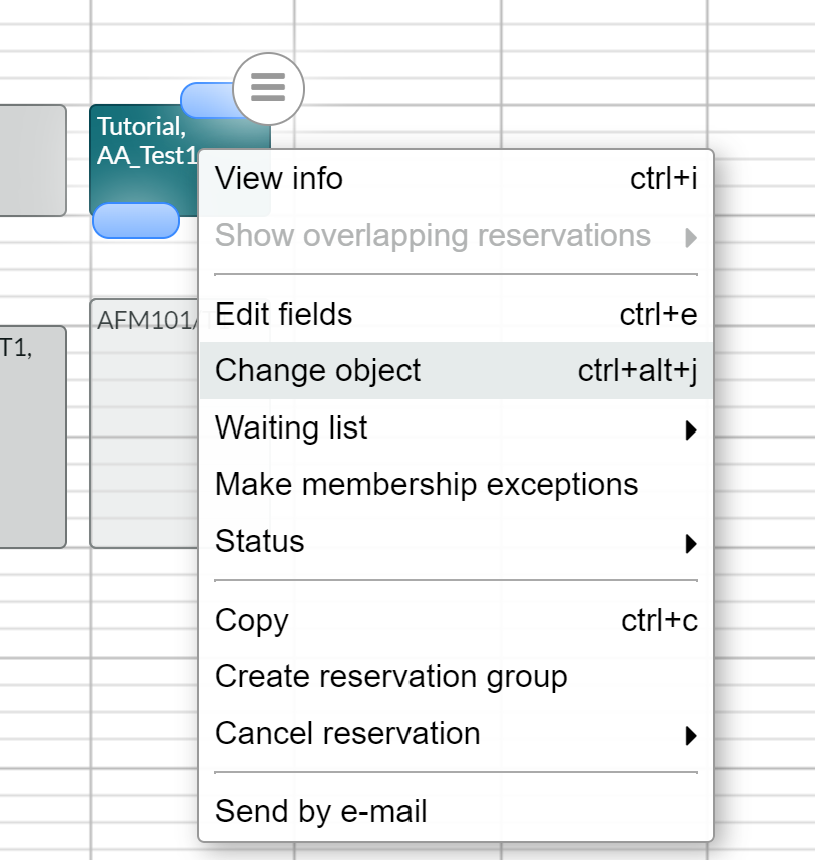
In your calendar window, right-click on the booking you wish to change. You then select "Change object".
Step 2
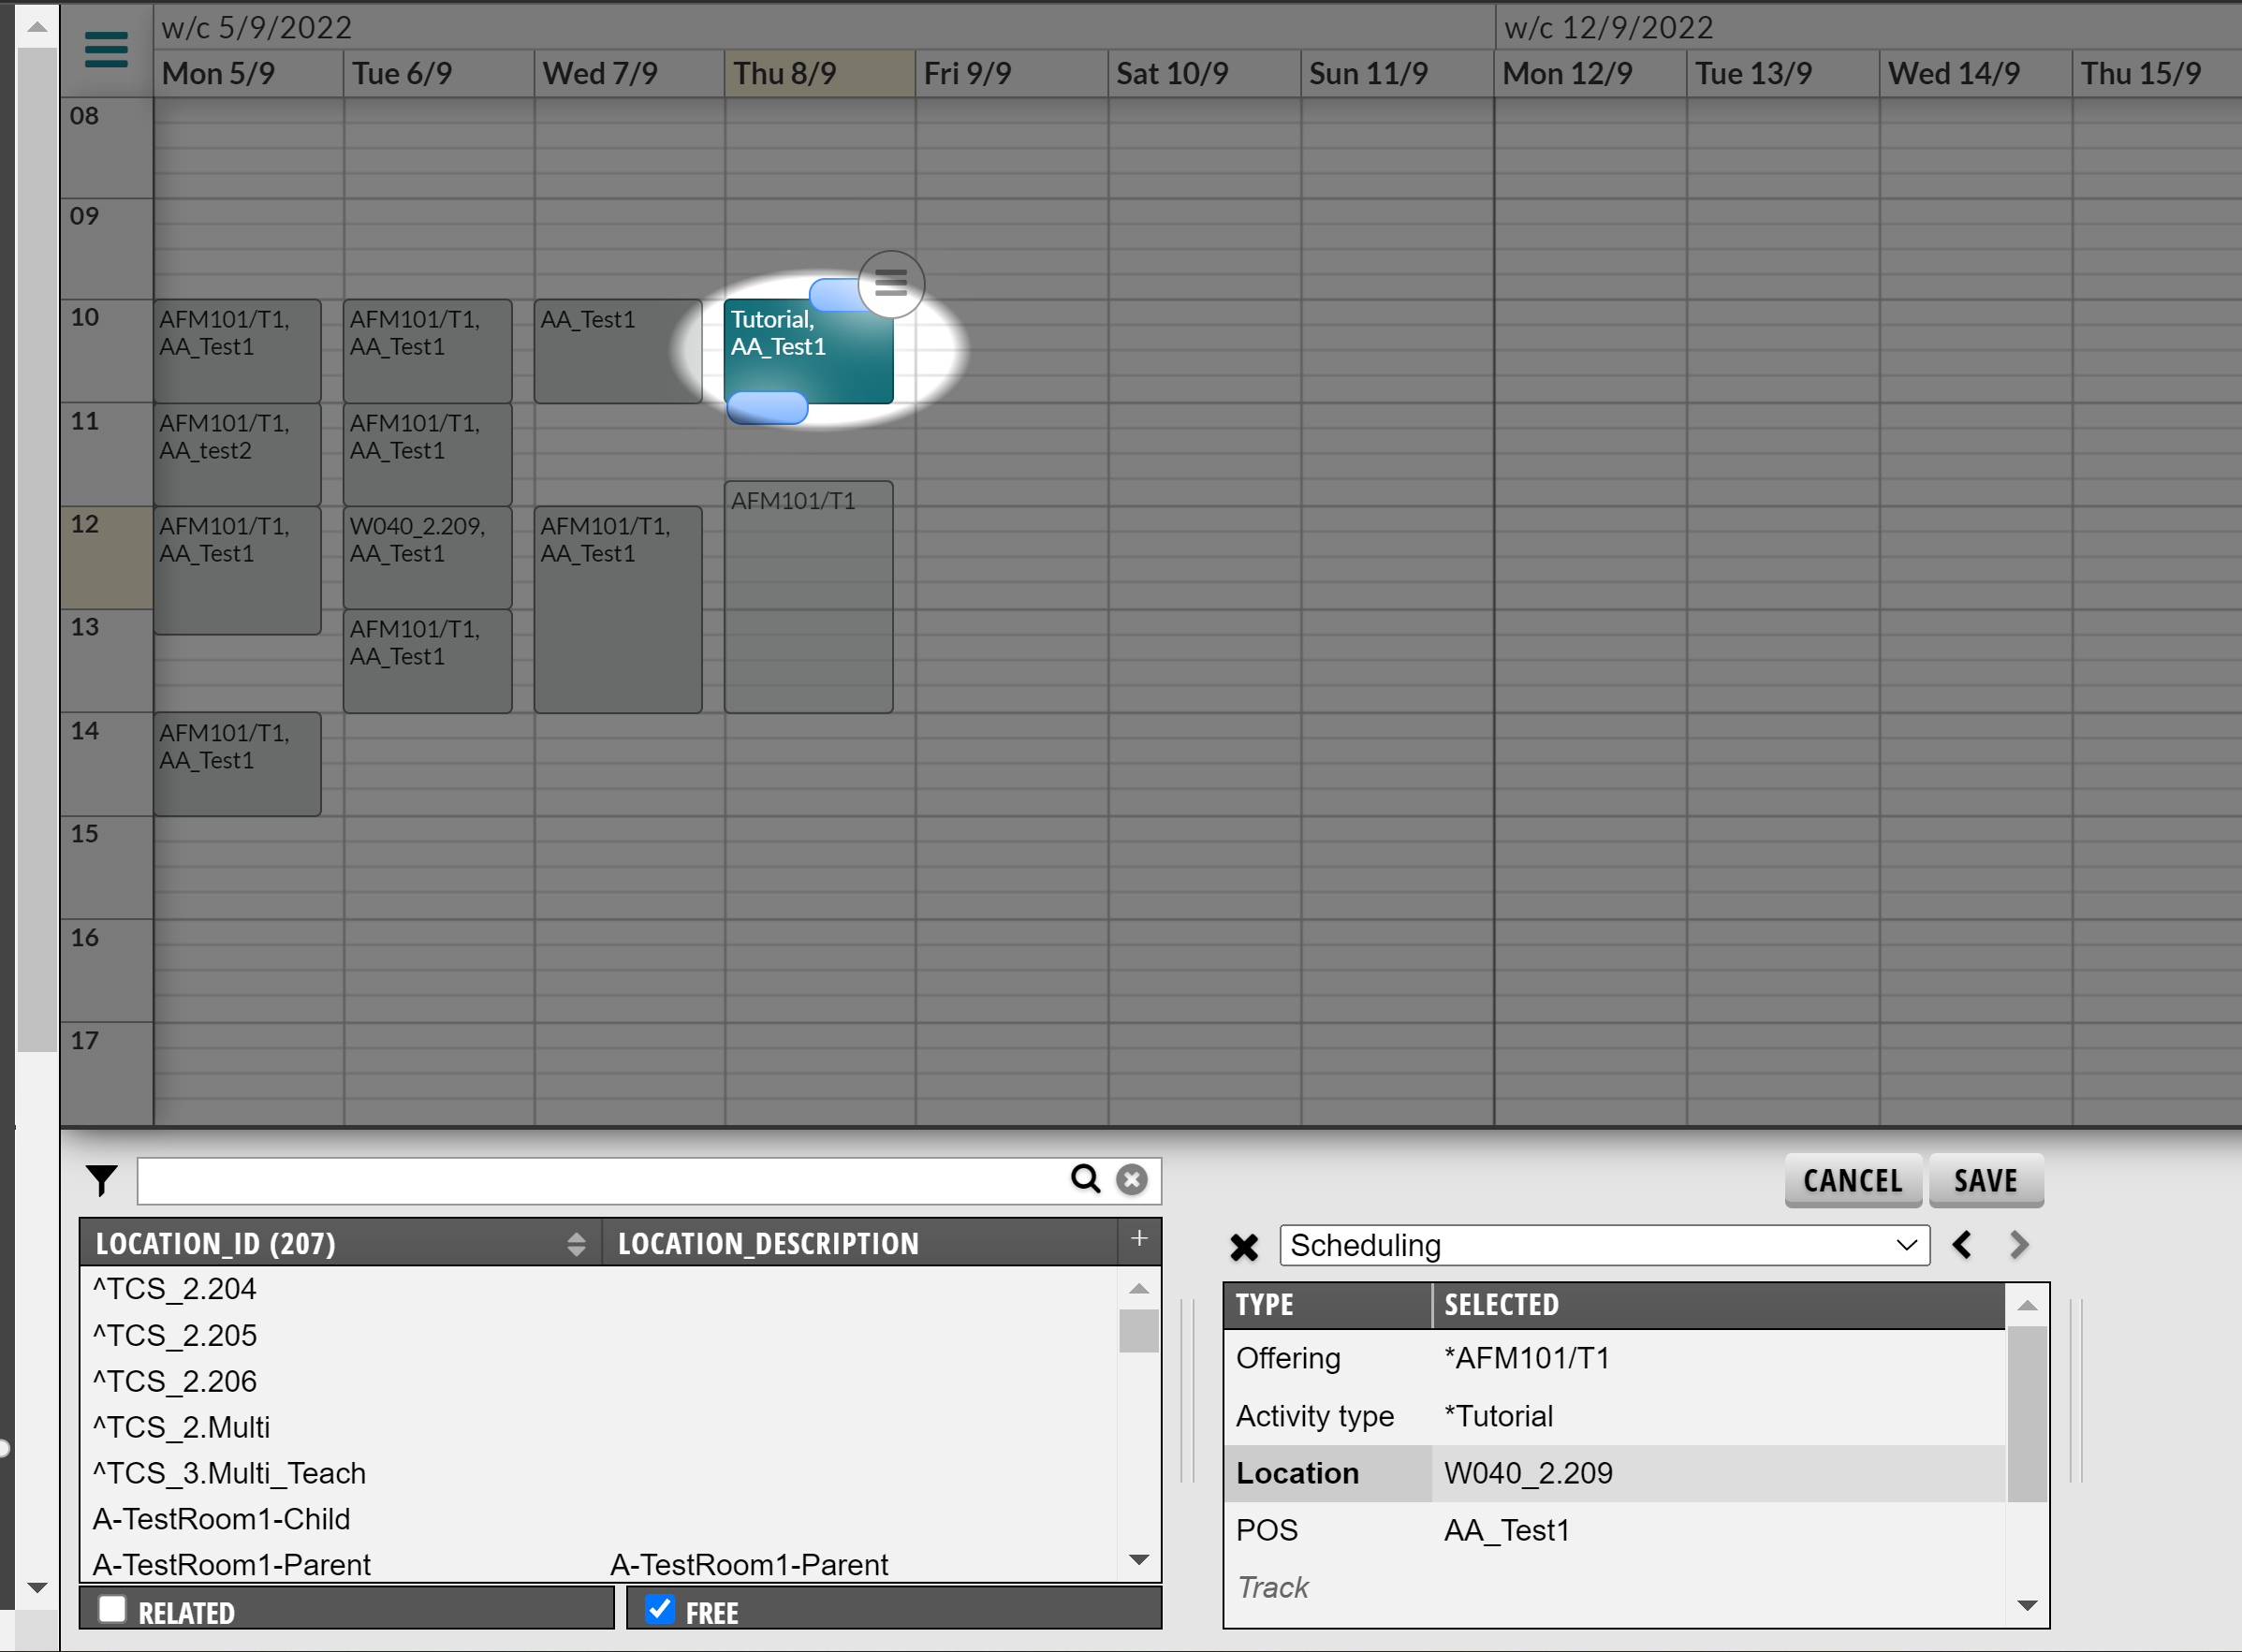
The booking then ends up in an edit mode, a ring of light ends up around our booking and we now get access to the selection list again. We now mark the type of Location in the selection list.
Step 3
In our example, we will now replace the Location with a new Location. We are on the Location type in the selection list, the item list now also shows the Location available to switch to, note that the check box "Related" as well as checkbox "Free" are selected. The system then only shows the Locations that are Related and Free for the specific booking.
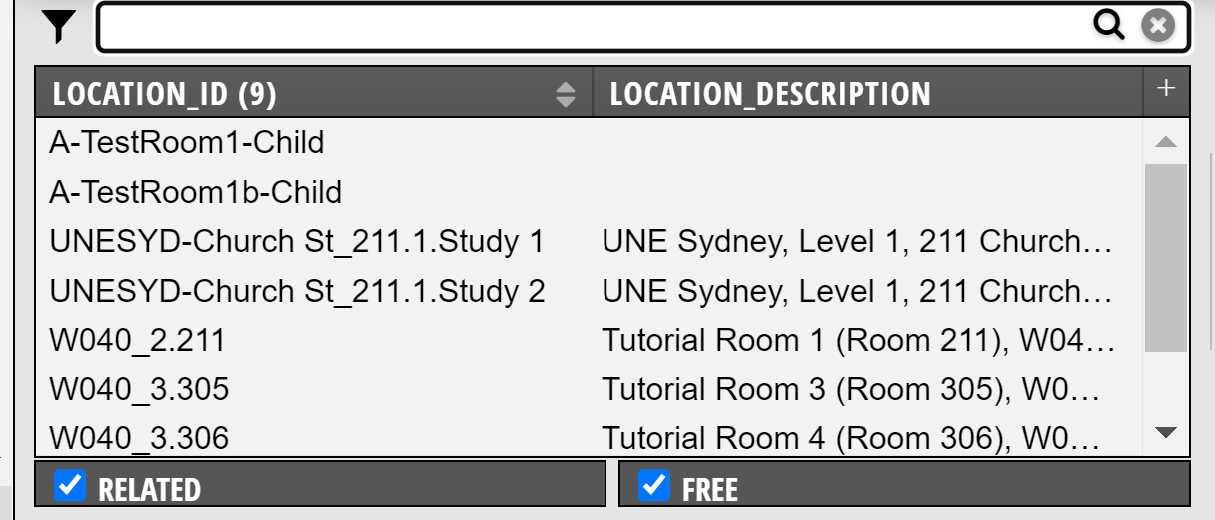
You may want to un-check the 'Related' if you know that your relationship of Location is not going to matter for this booking (eg. this may be where a location/room belongs to a specific department).
You may also un-check 'Free' if for example the location is virtual such as an online classroom - where multiple bookings are not a concern.
Step 4
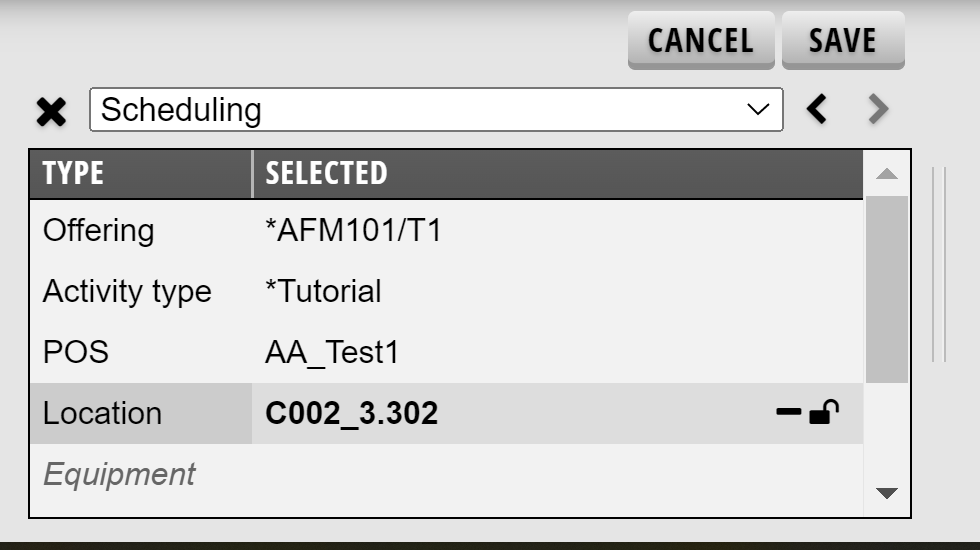
We now click on our current Location (the name of the one we wish to change) so that it is selected. You can tell that it is selected as it will make the location name bold. We then select the new Location from the list on the left. The booking will then be updated to reflect the new room.
Alternatively rather then changing the location, we may want to add a second location so to have two locations on the single booking, eg. online and phisical room, so to do this we select the field name 'Location' from our selection box. You will know you have selected this if it changes to bold font. You can now go to the selection box on the left and select the second Location you are wanting to add to the booking.
Step 5
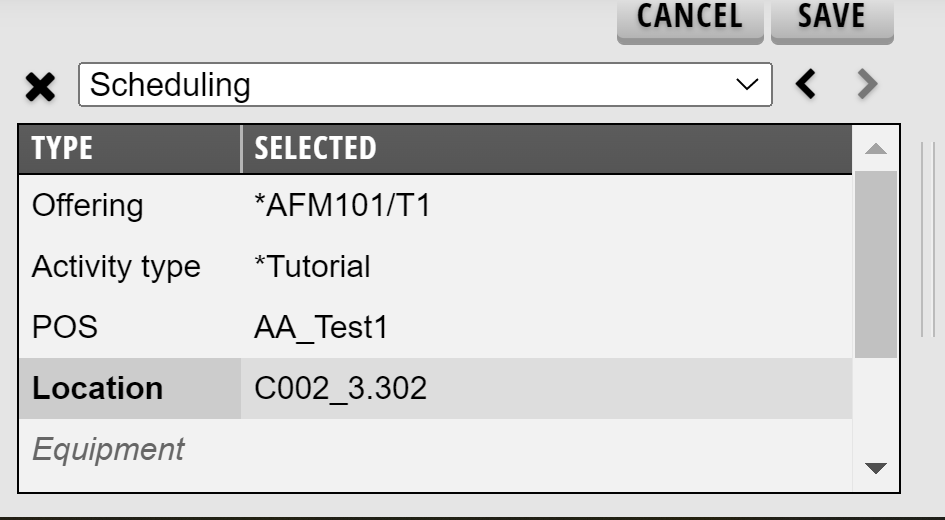
When we are then satisfied with our choices, we click on "Save" then the booking is saved in the schedule with our new choices.
Note: We can also make more choices while editing a schedule entry in the same way as we changed the Location, for example we can change the Activity Type or Offering.
Add more objects of the same type to schedule record
Add more objects of the same type to schedule record
If your booking regulations allow it, you can add several objects of the same type to a booking, for example several teachers or several rooms.
You can do it in two different ways if you want to add several items of the same type to a booking:
Follow the instructions above to change the booking but in point -4 hold down the CTRL key (or CMD on Mac) while you select more items in the item list. You then do not replace the selected object, but add to it.
If in the selection list you select the type name instead of the object, the object you are now clicking on in the object list is added to the selection list without the previously selected object disappearing.
In the same way, there are two ways to go if you want to remove an object from a booking.
You follow the instructions above but in point 4, hold down the CTRL key (or CMD if you're running MacOS) and click on the item you want to remove in the selection list or click the minus sign to the right of the item you want to remove.
The object is then moved from the selection list to the object list.
Move booking
Move booking
To move a booking, click on the booking, hold down the mouse pointer and drag it to where you want it to be and then release it there.
Change length of booking
Change length of booking
To extend or shorten a booking, use the "drag and drop" function. You simply place the mouse pointer on the edge of the booking at the top or bottom depending on which direction you want to change the time, click, hold down and drag in the direction you wish
Delete Booking
Delete booking
To delete a booking, do the following:
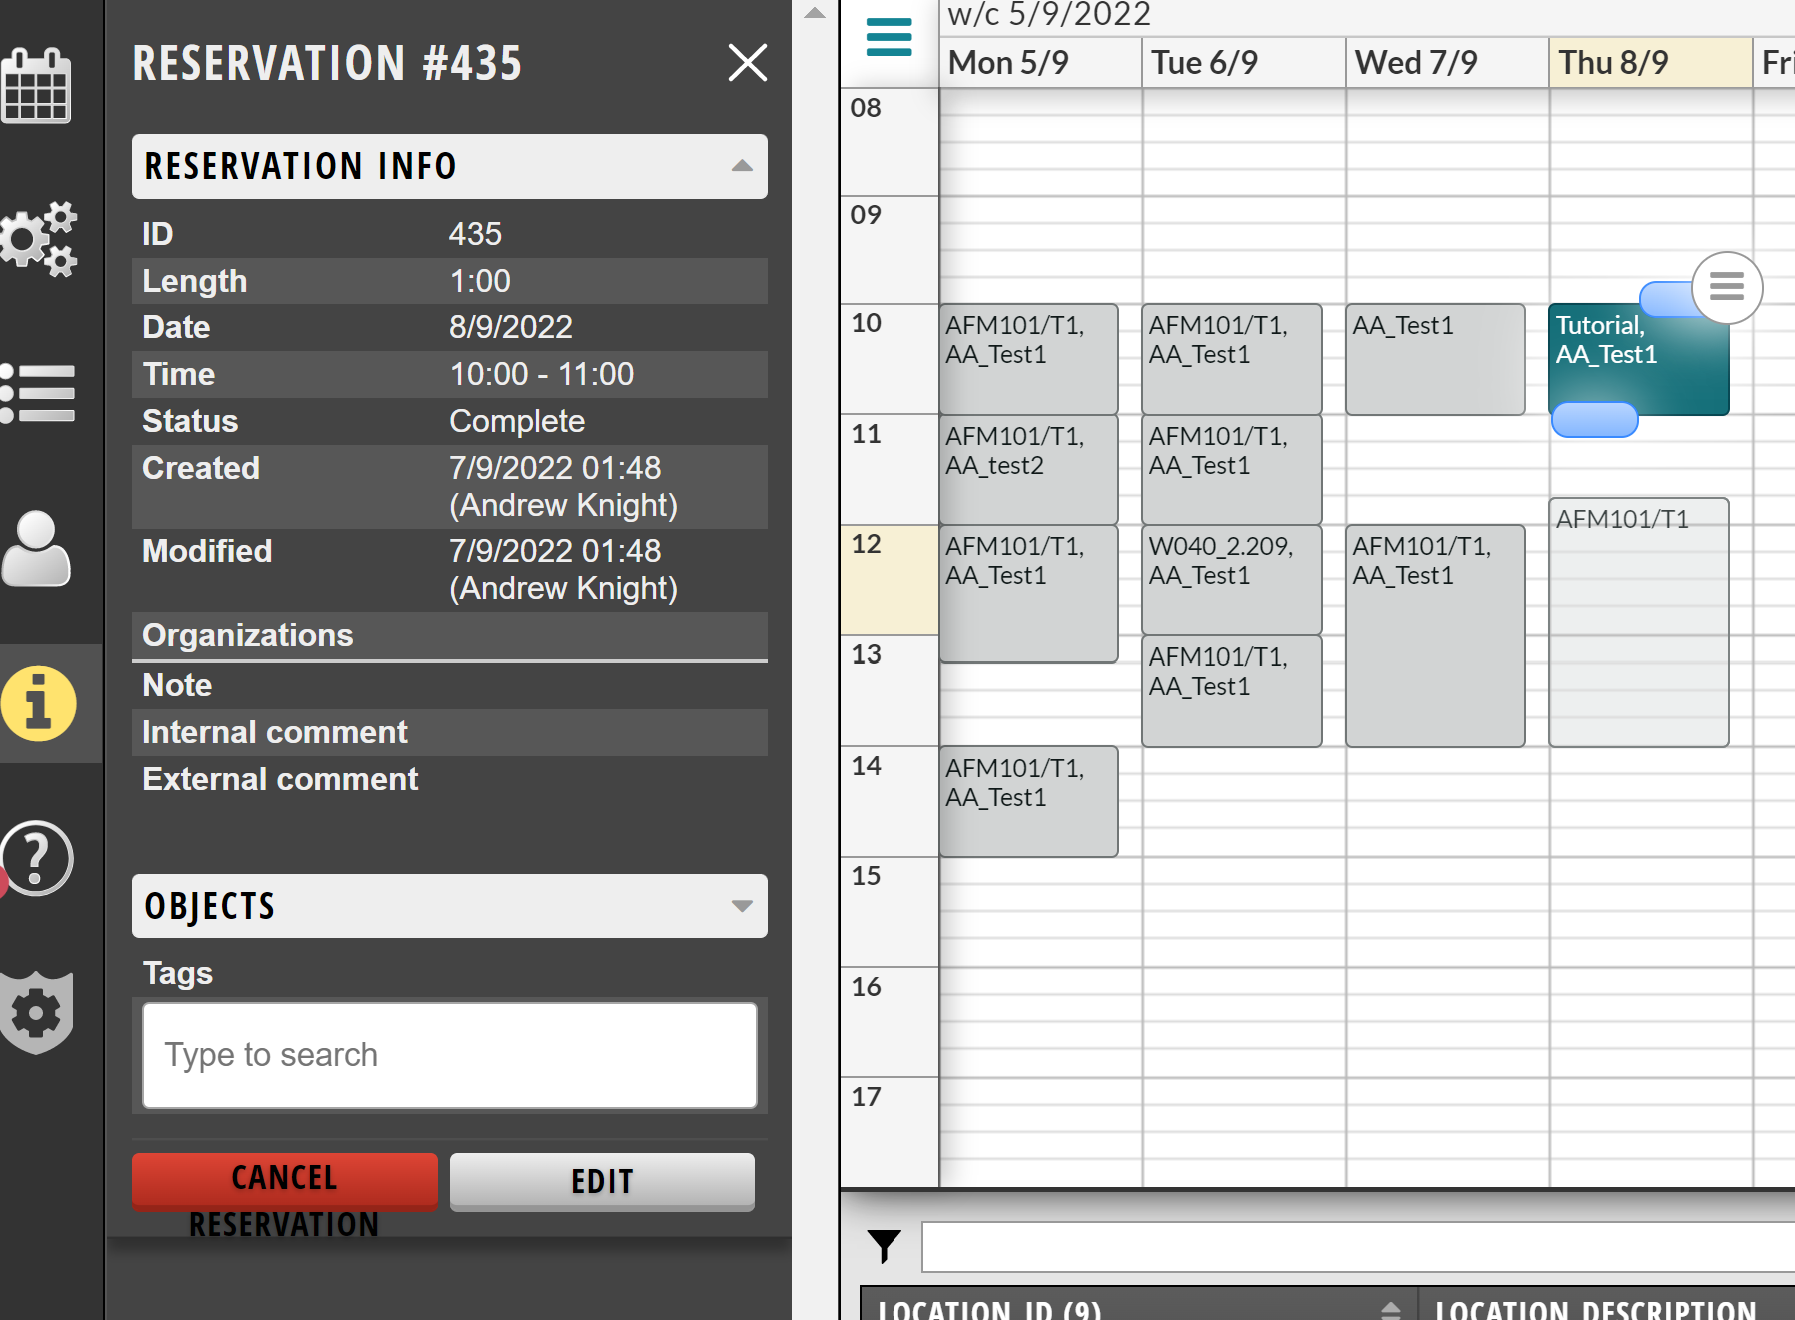
Step 1:
Mark the booking in the calendar by clicking on it.
Step 2:
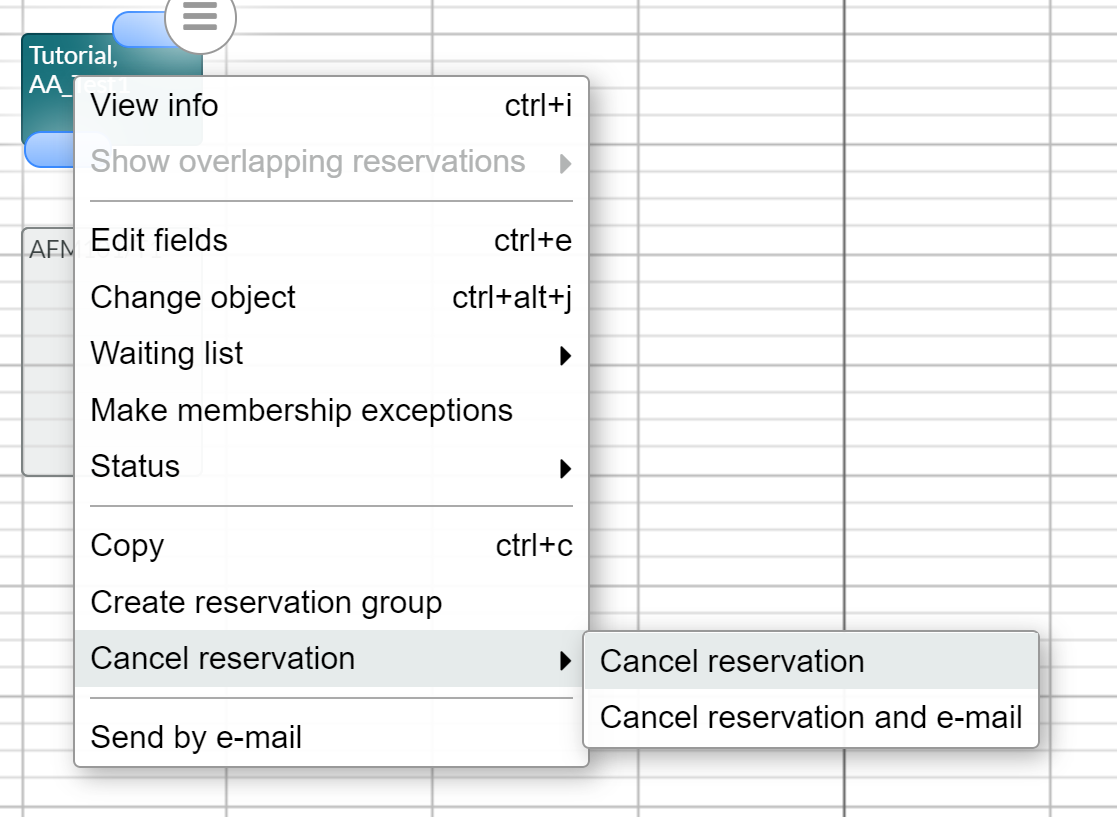
Then, as previously mentioned, the booking information appears in the left panel. At the bottom you have a red button you press - 'Cancel' Reservation - then you press the button again - Confirm Cancellation.
Step 3:
Clear.
You can also right-click directly on the booking and then select "Cancel Reservation' - then you press the button - Cancel Reservation..